
Wagon Platform Bed

As written on Ford Transit USA Forum

This is not professional advice only an account of what I have done. Knarly Vans LLC will not be held liable for any actions caused by following these accounts. Use this information responsibly and always consult a professional.

Taking inspiration from @Deadwood and @Lincoln Lightning I bent and attached some metal rails to the sides of my passenger wagon to run the platform bed across.

Removed trim with some plastic trim tools and the Harbor Freight Panel Clip Pliers.

Using the Rivet Nut drive tool from McMaster (96349A305) I installed the 1/4-20 Heavy Duty Twist Resistant Rivet Nuts (90720A450) in the pre-drilled holes under the window (Diameter .360″) and the already threaded holes at the very back (M6). My practice Rivet Nuts were the standard non twist resistant and ended up giving me a little bit of spin, so I opted for the twist resistant ones. Mentioned before, the Driver Side C-Pillar hole has metal behind it blocking full depth. Luckily the Rivet Nuts used compress to 1/4″ length. I spaced the included bolt on the install tool and kept pushing the Rivet nut in as it compressed and was able to get a clean install with no need for drilling the metal behind.

The metal rails are Hot Rolled 1/8″ x 3″ x 72″, cut some length off after. (HF1253 from Metal Supermarkets ~$17ea). They were bent with eyeball engineering, elbow grease, and a bench mounted vise. Mostly turned out ok, with some corrections needed. With a cut-off wheel I cut out a space for the cup holders. Leaving about 1″ of metal underneath the cup holders. This was not as pretty as I’d hoped but eventually fit mostly correctly. I drilled the mounting holes 1/2″ from the bottom.

While the trim was off I placed some blue painters tape and tracked my line for the holes, along with the measurement of height to drill my mounting points when the trim was replaced. Missed about every hole, so they are all clearanced and luckily covered by the rail. There will be no easy cover-up if I ever need to return to stock. So hopefully whoever attempts this next has better aim!

The rail was attached with 1/4-20 x 1″ Button Head Screws and 1/4″ x 1-1/4″ Fender Washers. The rear most attachment were attached using M6 x 25mm and Fender Washers. There was flex of the van sheet metal when installing the Rivet Nuts, which gave me pause, however one bed rail spanned across easily holds 250lbs plus so I am confident there will be no give.

The bed rails are the Ikea Skorva telescoping rails (~$10ea).

A lot of cursing and sweating drilling holes in new van trim and only a couple broken plastic plugs. I am still deciding whether to use a couple sheets of plywood, slats, or some other concoction to finish out the bed.

Attachments

Update

I went with 1/2″ birch for the tops to make it easy. Due to the spacing of the cupholders and bends in the wagon the total length/width (front to back) comes in around 62″ (30″ and 32″) width panels running to the ends of the ikea rails. The length/width (side to side) is just shy of 68″ by the 3rd row and 61″ by the rear door. Once the mattress is on it will still be 73-75″ of sleeping room for side-side which should be enough.

I still need to add some brackets, and cut out some handles so the panels can be removed easier from the center.

For mattress I’m thinking about two narrow twin pads and a topper, a folding queen that I cut down, or just a cut down queen mattress. I’d like it to be easy to remove and store, while still being comfortable.

Attachments

Update

Thanks for the post and pics! do you have the clearance under the Skorva rails to floor handy?
Did you (or others) consider mounting the rails above the cup holders? Curious about pros/cons of mounting rails above vs below the cupholders in the wagons.I plan to have my wagon mostly set up as passenger but modular enough to pull out the last row (12 pax) for getting away with the fam.

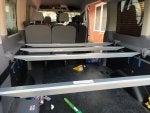
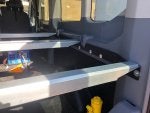
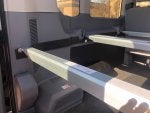
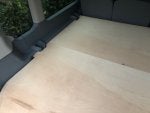
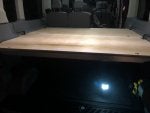
I believe it was around 22″ I can’t find a measurement. It was enough for a fridge and totes to slide under.

I’m rebuilding it completely and putting it at the top of the gray trim piece (around 32″) with adjustments to go higher above the headrests similar to vandoit. If I did a simple bed again I probably would have used the upper seatbelt mounting point with just a frame to the front and legs, similar to belloinsella’s bed design and a few others in the wagon. Granted I haven’t completed a higher bed yet, so may find some equal issues with that design.

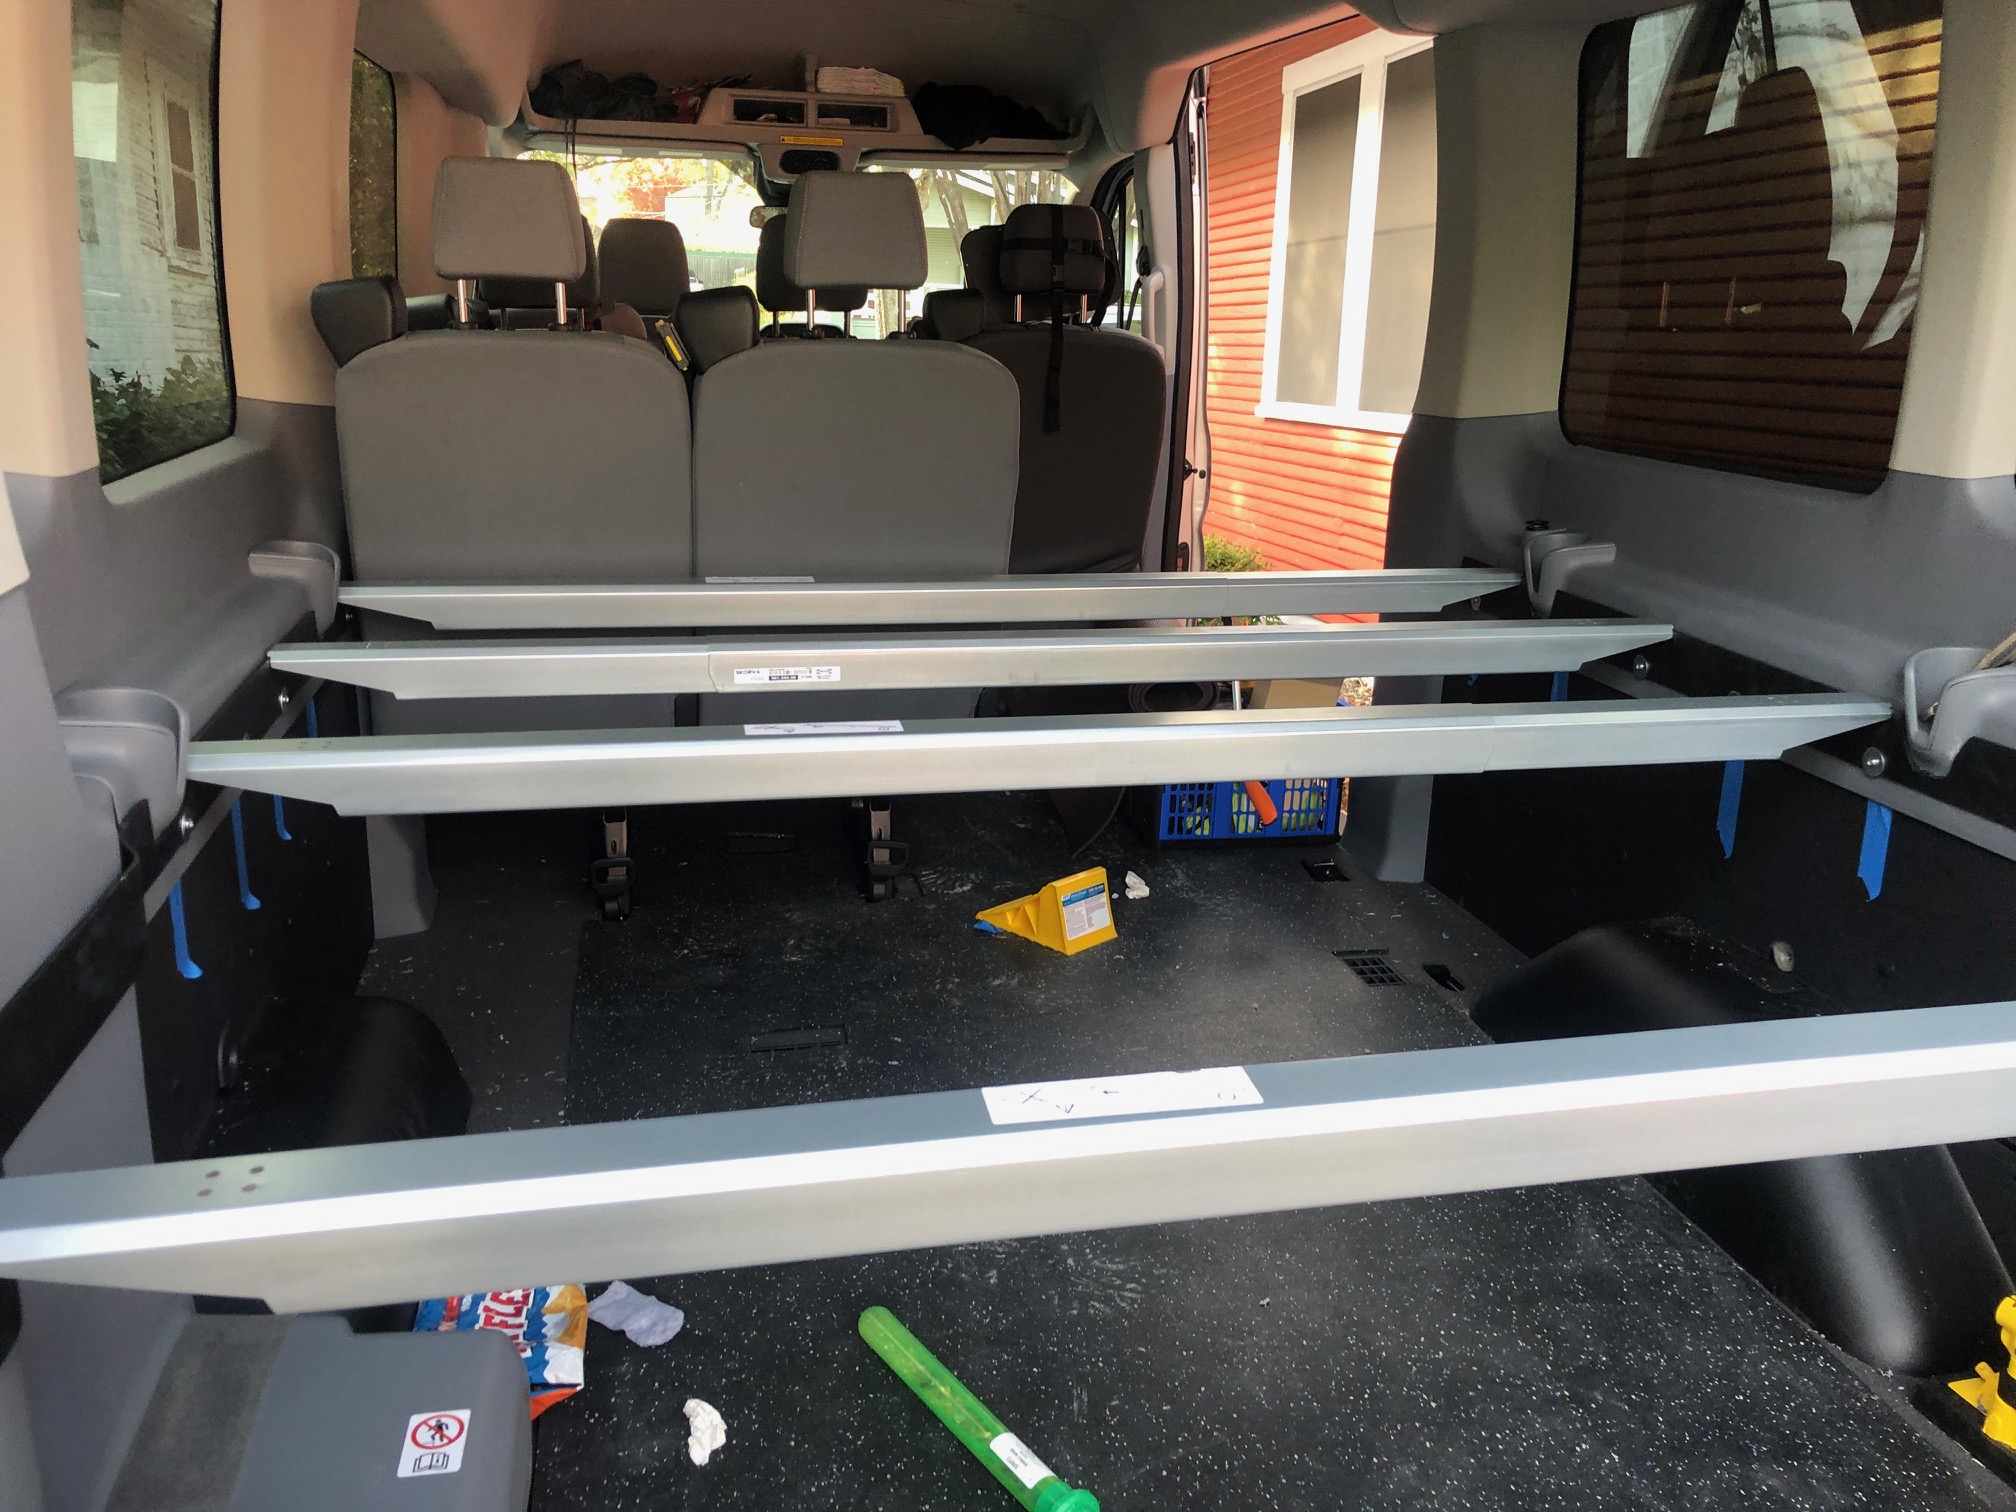
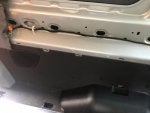
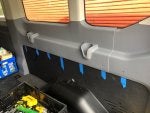
I originally kept it at that height so I would avoid the airbags, and have a semi-permanent mounting rail that didn’t interfere with the seats and could easily remove the bed that was somewhat inconspicuous. It was also super convenient height for changing the kids or lounging. You could sit straight up in bed, and it didn’t block your line of sight. Cons were that without a gear slide it is a tight space to be constantly pulling out your stuff, and strollers/bikes didn’t fit well. I also used a heavy mattress and found I rarely took it out. After looking at some reputable upfitters that build it higher it looks like the airbags aren’t a problem if you stay out of the window cavity, and I decided I could use the space underneath it for better planned storage or a kid bunk.