Starlink Install
Well, I found myself needing Starlink from the road on a trip leaving in a week and no time. Like every road trip, it was crunch time to put the van back together. I love starting projects in the days leading up to needing the thing done, motivation through procrastination maybe?
I already had a Gen 3 starlink I purchased not too long before, just needed to get it on the roof and plugged in. The components I used aren’t necessarily the optimized solution, but I was working with the confines of Prime shipping and whatever would get the job done. One of those leave it for now, but really, we’ll see if I ever change it. Starlink Referral
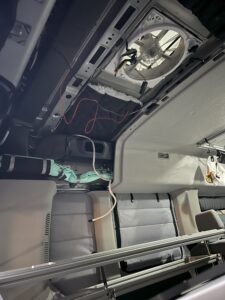
Remove headliner and trim.
I was already way too deep into my project, so why not take off some of the headliner. If you’ve never removed your headliner, it can seem daunting, and then you wonder why it was so easy.
- Take off the back door latch black covers
- Pop out the tree plugs
- Any of the stock lights or maxxfan trim ring in the back need to come down as well and be unplugged
The headliner is held in with the plastic Christmas tree plugs, the side trim, some additional push pins, and magnets in the case of the bigger sections. I’m routing my cables through the D-Pillar, so I also removed the D-Pillar Driver Side trim.
01

Route your cabling
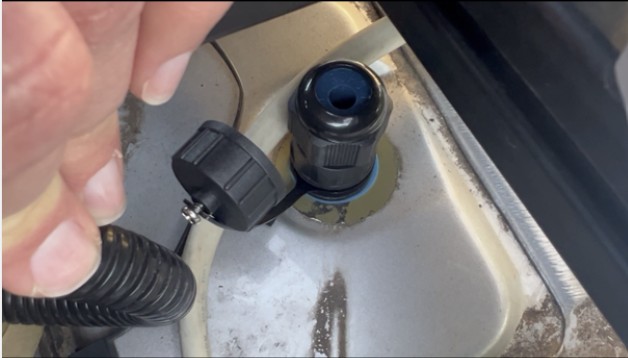
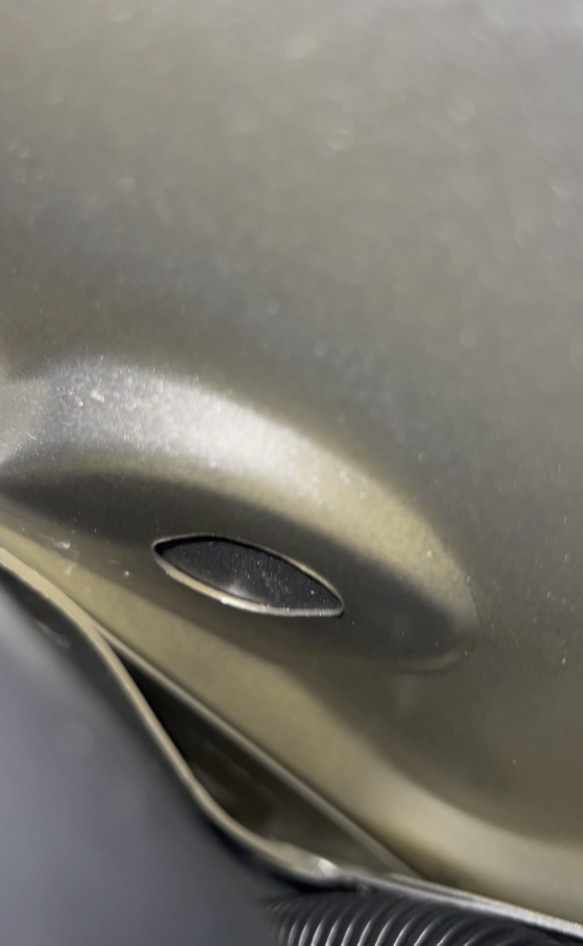
Above the D-Pillar there are stock holes covered by a “sticker” these are great for routing your cables without having to drill holes in your roof. Driver Side D-Pillar there are two holes. One that feeds into the D-Pillar, and one that is a little further forward. The rear one was already occupied with a light bar cable, so I opted for the other one. This made the degree coming out a little sharper due to the AC duct. I did also have to move the ducting out of the way to get to the gland.
The gland- Sure you can route cables through holes with nothing, but that isn’t a good idea. You want to ensure a waterproof route through your roof where the wiring can penetrate. There are two ways to achieve this when you’re dealing with ethernet. First is you can cut and resplice the ethernet end, second is to use a pass-thru connector. The Starlink is a CAT6 and with time of the essence, I opted to hope a pass-thru would work on my Ford Transit. This would give me the option to unplug and remove the starlink dish when I didn’t need it. I opted for these pass thru ethernet cat6 connectors, because they were waterproof and most importantly would show up in a day. This also meant I needed two cables, one to run to the ceiling, and one to run to the dish. Again, these cables were chosen because of how fast they would deliver. I used some lap sealant and screwed in the gland.
02
Mounting to the roof
The theme here is what could show up immediately. There are great reviews from a lot of people about the trio in transit mount, or other similar engineered mounts for this option. Those would not show up in 24hrs however. I used this mount which says USA way too many times for it to be true, this magnetic mount (currently unavailable, but these look similar for a similar price, around $80-90 (https://amzn.to/4jztX5U, https://amzn.to/4ko1Rf6 ), and deliver overnight it seems.
I was lucky enough that the cross bars I setup on my roof rack aligned well with the Starlink. The magnets seemed to hold really well, but for extra measure I used some additional extrusion brackets to clamp over the end. Actually, really surprised it all fit so well considering how quick it came together.
03

Next Steps
- Add a home for the router and power supply
- Probably replace the ethernet inside with a 90degree to reduce strain
- Maybe redo the whole thing next trip
04
UPDATE:
After two road trips there have been no issues, and we’ve been able to go over our 50gb limit surprisingly fast with streaming on an 18hr trip. Woof.
Happy Van-ing,
Brian